
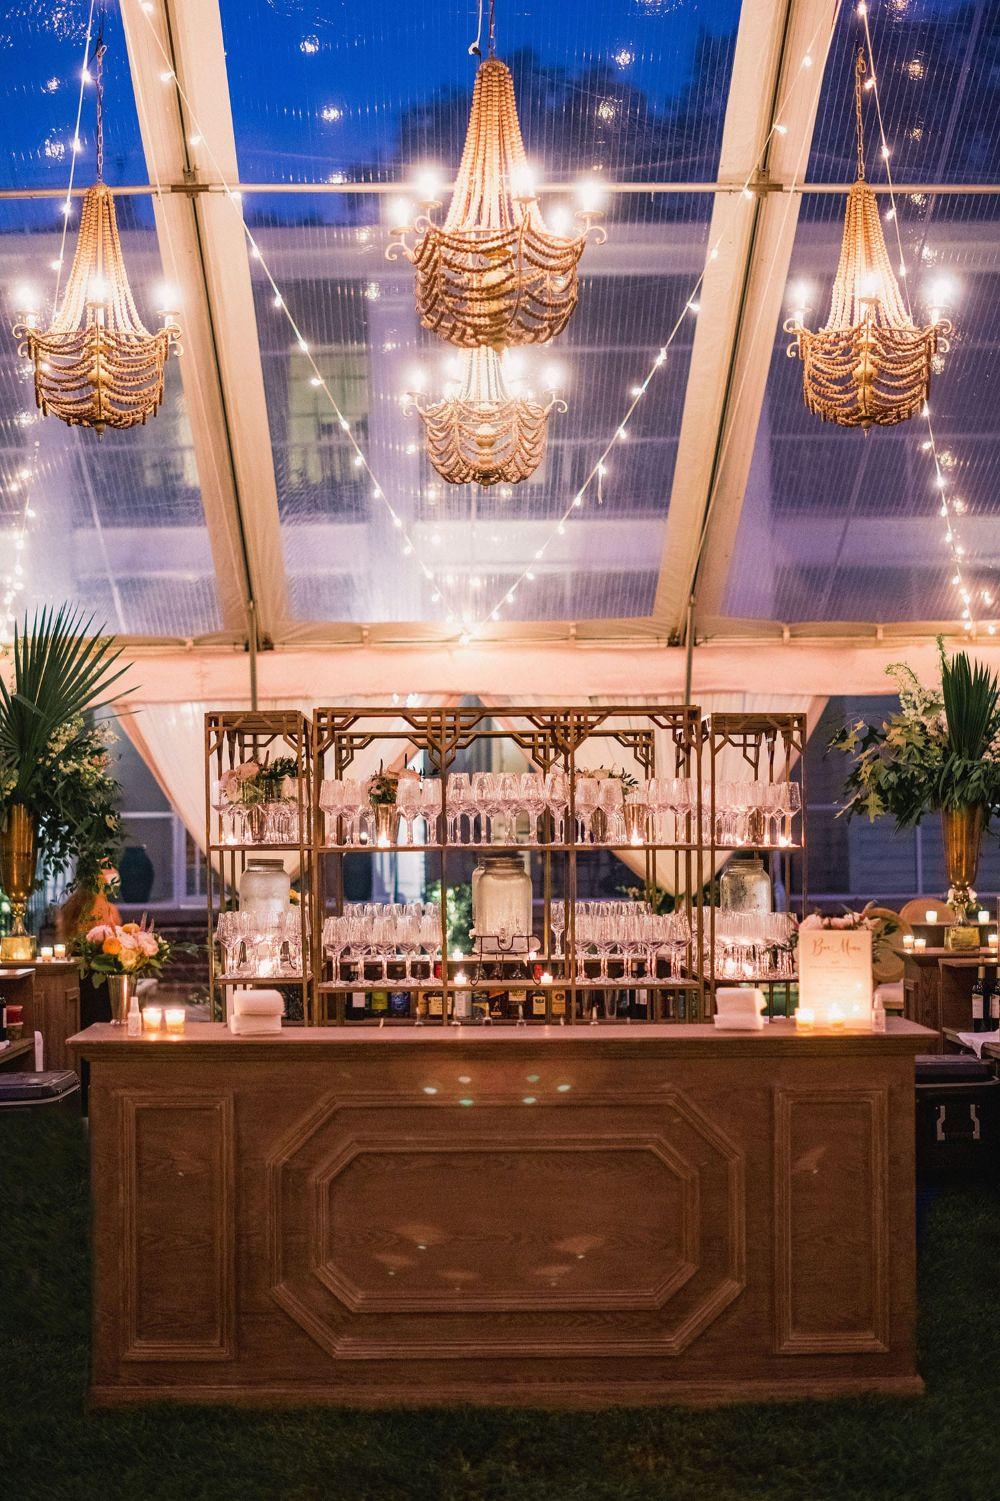
A wedding bar is more than a place where guests collect refreshments. Inside a tent, it can become one of the most visible and frequently visited features of the reception. Guests may encounter it during cocktail hour, see it from their dinner tables, and return to it throughout the evening. Its placement and design can therefore influence how cohesive the entire tent feels.
Creating a statement bar requires more than selecting a distinctive rental piece. The bar must be appropriately scaled to the tent, positioned along a clear sightline, and connected to the reception through color, finish, or shape. It also needs sufficient service space behind it and a practical approach for guests.
Curated Events Charleston offers bars in a wide range of formats, including straight, modular, sideboard, curved, mirror-front, colored, and sculptural designs. The collection also includes bookshelves and étagères that can support a coordinated back-bar composition.
The following considerations can help couples and planners make the bar feel intentionally designed into a Charleston wedding tent rather than placed wherever space remains.
Define the Bar’s Role Before Choosing Its Style
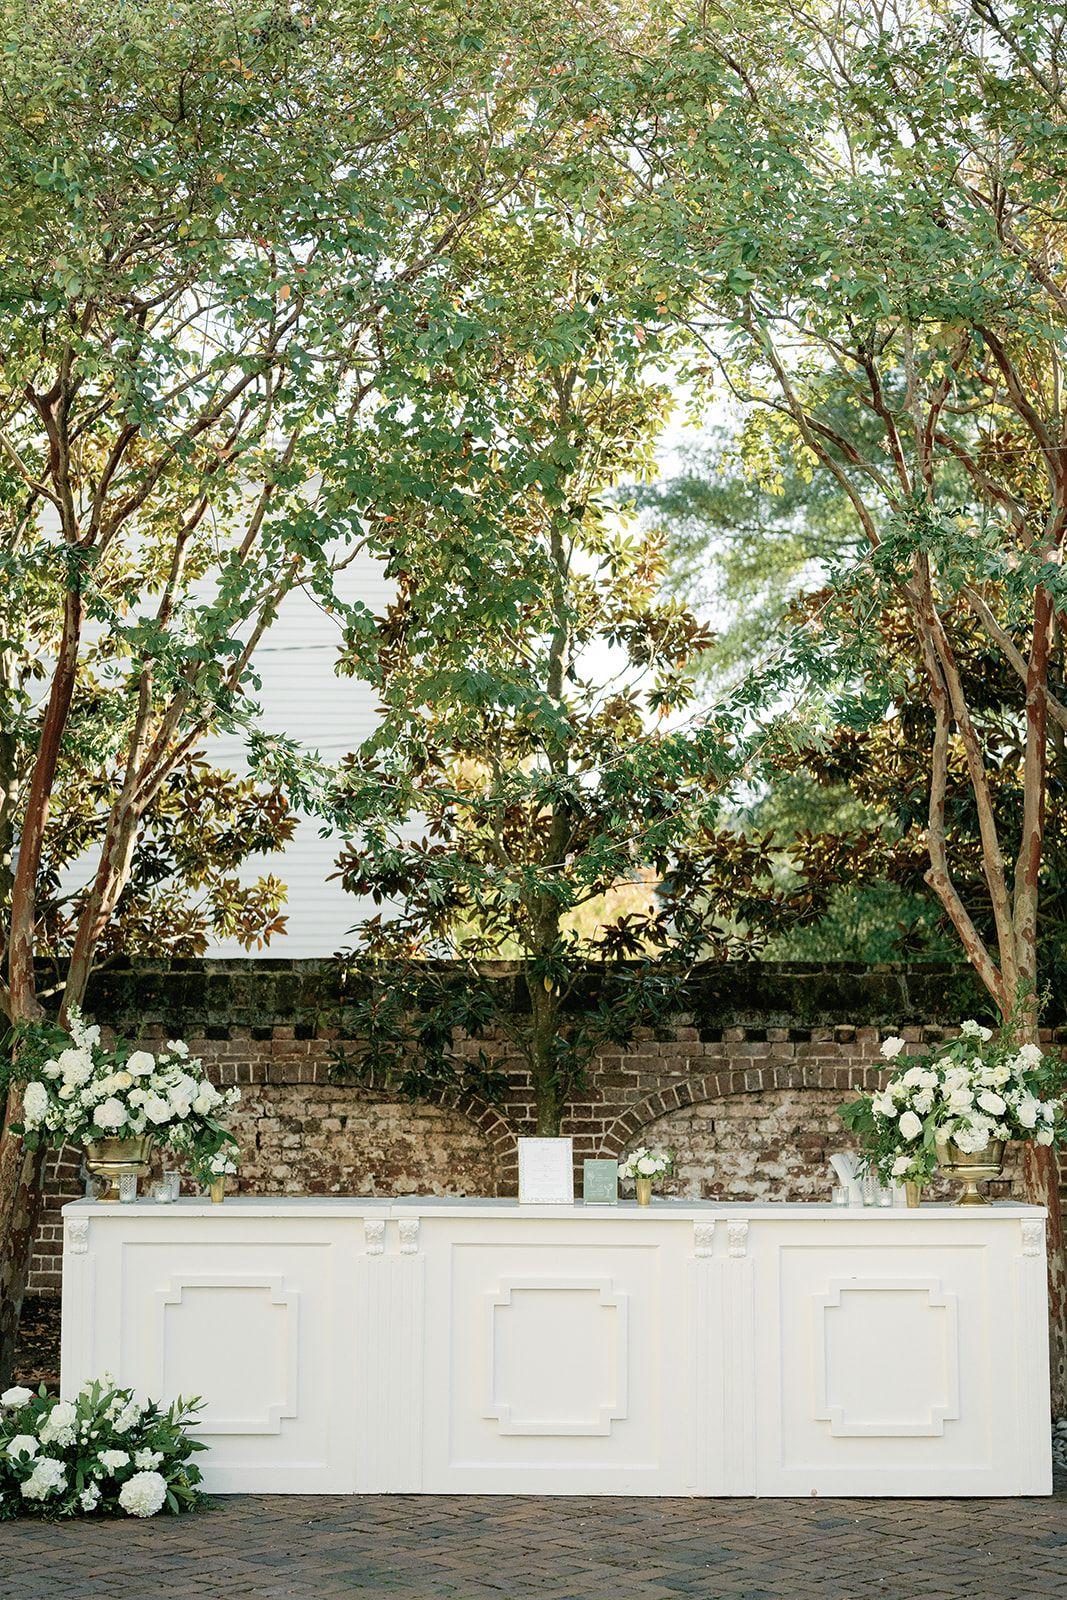
Not every bar needs to become the reception’s primary focal point. Before selecting its shape, color, or finish, determine how much visual attention the bar should receive and when guests will encounter it.
Decide Whether the Bar Is the Main Focal Point
A primary statement bar is intended to attract attention as soon as guests enter or look across the tent. It may use a strong color, reflective front, sculptural shape, substantial width, or coordinated back-bar arrangement.
A secondary bar still needs to feel polished, but it should support rather than compete with another dominant feature, such as the stage, dance floor, couple’s table, or ceiling installation.
This decision affects how many design elements should be concentrated around the bar. If the bar front is already visually strong, extensive shelving, florals, signage, and accessories may be unnecessary. If the bar is quieter, one defined vertical feature can give the area greater presence.
Identify When Guests Will Encounter the Bar
Consider the bar’s role throughout the event rather than evaluating it only as part of the reception layout.
Guests may first see it:
-
From the tent entrance
-
At the end of a cocktail-hour pathway
-
From their dining tables
-
From the dance floor
-
Along a transition between indoor and outdoor spaces
From the tent entrance
At the end of a cocktail-hour pathway
From their dining tables
From the dance floor
Along a transition between indoor and outdoor spaces
A bar designed for immediate impact near the entrance may require a strong front-facing composition. A bar used primarily later in the reception should remain visible and easy to approach from the dining and dancing areas.
Understanding the guest’s sequence of movement helps determine the most effective placement.
Establish One Clear Viewing Direction
Some bars are primarily viewed from the front, while others are visible from several sides.
A straight bar positioned against one side of the tent may be designed around a single front view. This creates a defined background and makes it easier to coordinate the bar with shelving or signage.
A freestanding curved bar may be approached from several directions. Its shape needs enough surrounding space to remain visible and should not be compressed against a sidewall or structural element.
Choose the configuration according to how guests will see and approach the bar, not only according to how the rental looks in an individual photograph.
Select the Bar Configuration From the Guest Approach
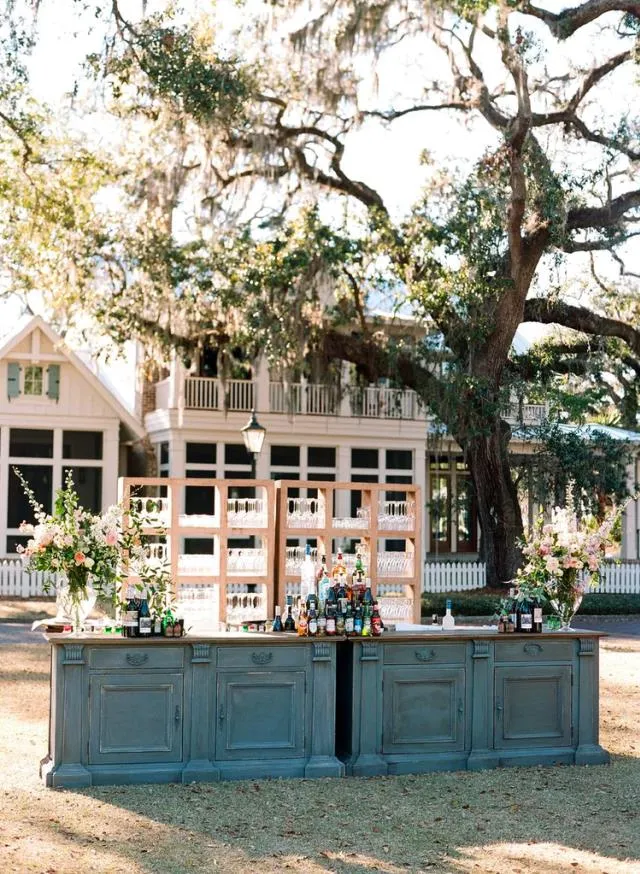
Bar shape influences guest movement, visibility, and the overall proportions of the installation. Curated Events Charleston’s inventory includes straight bars in multiple lengths, Build-A-Bar configurations, sideboard bars, quarter-moon bars, crescent bars, and other distinctive formats.
Use a Straight Bar for a Controlled Front View
A straight bar works well when it can be positioned:
-
Against a tent side
-
In front of a defined backdrop
-
Between two structural bays
-
Along the boundary of a reception zone
Against a tent side
In front of a defined backdrop
Between two structural bays
Along the boundary of a reception zone
This configuration creates a clear service front and provides a strong horizontal line. It can be especially effective when the bar needs to align with a tent bay, shelving arrangement, or rectangular section of flooring.
A straight bar should not automatically be pushed to the nearest perimeter. Its location still needs to support guest access and allow enough room behind the bar for service operations.
Consider a Curved Bar for Multiple Approach Angles
A quarter-moon, crescent, or other curved bar can create a freestanding focal point in a more open section of the tent.
The shape may help guests approach from more than one direction and can soften a reception layout dominated by rectangular tables, tent bays, and linear furniture.
A curved bar requires adequate surrounding space. When placed too close to a tent wall, pole, or furniture grouping, its shape becomes less visible and guest movement may be restricted.
The full footprint should be tested before selecting a curved configuration, including the area needed behind the bar and around its guest-facing perimeter.
Use Modular Sections to Match the Tent’s Scale
A single compact bar may appear visually undersized inside a large tent, particularly beneath a high ceiling or within a long structural bay.
Modular bar sections can create a broader front that relates more appropriately to the scale of the tent. The objective is not to make the bar as long as possible, but to establish proportions that look intentional from the primary viewing distance.
Consider the relationship between the bar and:
-
The width of the tent bay
-
The height of the tent interior
-
The distance from the entrance
-
Nearby shelving or backdrop pieces
-
The surrounding open floor area
-
The number of guests approaching the bar
The width of the tent bay
The height of the tent interior
The distance from the entrance
Nearby shelving or backdrop pieces
The surrounding open floor area
The number of guests approaching the bar
A larger bar front may need a wider supporting composition, while a small bar may work better in a more contained reception zone.
Anchor the Bar Within the Tent Structure
A tent has its own visible architecture. Poles, ceiling peaks, bays, flooring seams, entrances, and sidewalls create lines that affect how the bar is perceived. Aligning the bar with those features can make it feel integrated into the structure rather than inserted into an arbitrary opening.
Align the Bar With a Tent Bay or Centerline
Where possible, place the bar within a defined architectural section of the tent. Centering it within a tent bay can create a balanced front view and provide a natural framework for shelving, signage, or a backdrop. Alignment may also help the bar relate to the tent’s ceiling lines and flooring pattern.
The bar does not always need to sit in the exact center of the tent. It should, however, align with a clear visual reference. A slightly off-center placement without a corresponding design element can make the composition appear accidental.
Keep Tent Poles From Dividing the Composition
Before approving the location, check whether a tent pole interrupts the bar from the main guest view.
A pole may divide:
-
The bar front
-
Back-bar shelving
-
A menu or sign
-
A decorative installation
-
The central viewing angle
The bar front
Back-bar shelving
A menu or sign
A decorative installation
The central viewing angle
When the pole cannot be avoided, it should be incorporated deliberately. The bar may be divided into balanced sections around it, or the surrounding arrangement may be adjusted so the pole aligns with an intentional break.
Allowing a structural pole to sit slightly off-center in front of the bar can weaken an otherwise strong focal point.
Review the Design With Sidewalls Open and Closed
The background behind the bar may change if tent sidewalls are installed. An open side may provide a garden, estate, or waterfront view during fair weather. When a sidewall closes, that background may become white, clear, or otherwise visually different. Reflective bar fronts may also respond differently to the enclosed setting.
Review how sidewalls affect:
-
The bar’s background
-
Guest access
-
Staff entry
-
Restocking routes
-
Reflections
-
Visibility from outside the tent
The bar’s background
Guest access
Staff entry
Restocking routes
Reflections
Visibility from outside the tent
Curated Events Charleston offers several tent formats and dimensions, so the bar plan should be evaluated within the actual tent configuration selected for the event.
Create a Clear Visual Hierarchy Around the Bar
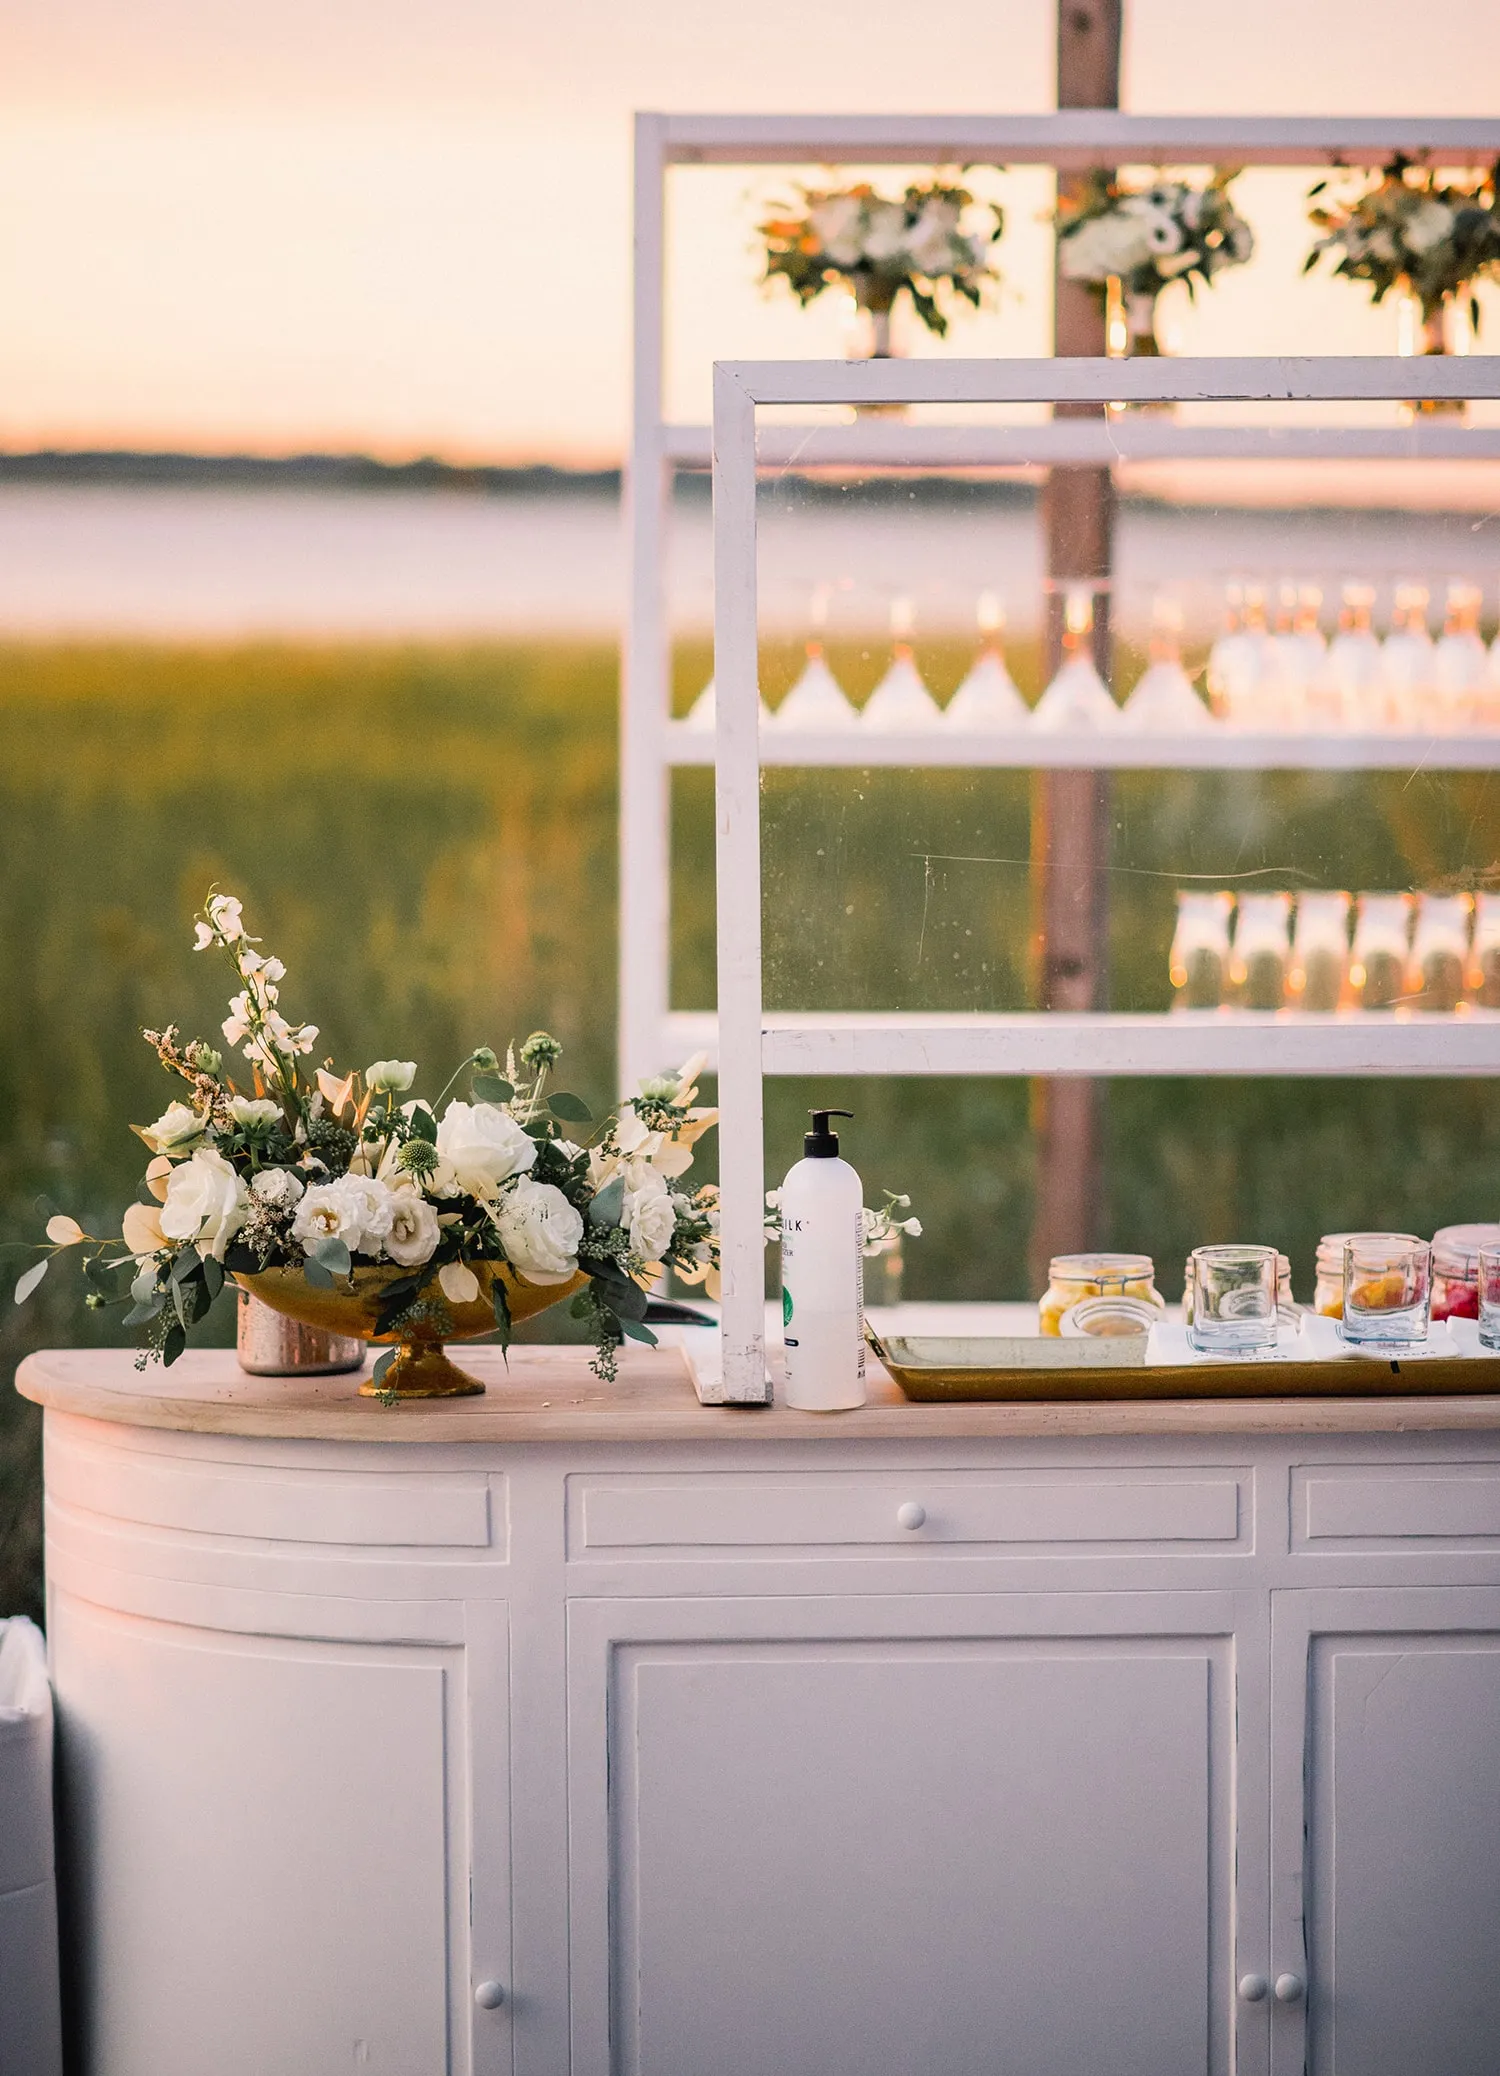
A statement bar should have one dominant feature. When the bar front, backdrop, shelving, signage, florals, and displayed items all compete equally, the area can feel crowded rather than considered.
Decide Whether the Bar Front or Backdrop Leads
A mirror-front, colored, sculptural, or textured bar may provide sufficient visual interest on its own. Adding a highly detailed backdrop behind it can make both elements less effective.
A quieter bar front may benefit from a more prominent vertical component, such as shelving, an architectural backdrop, or a controlled display.
Ask which element guests should notice first:
-
The shape or finish of the bar
-
The shelving arrangement
-
A sign or menu
-
A vertical decorative feature
The shape or finish of the bar
The shelving arrangement
A sign or menu
A vertical decorative feature
Once the leading element is identified, the remaining pieces should support it.
Scale Shelving to the Bar Front
Back-bar shelving should relate to the width and visual strength of the bar.
A narrow bookshelf placed behind a long bar may appear disconnected. An oversized étagère arrangement can overwhelm a compact bar or make the lower portion of the composition feel secondary.
The bar and shelving do not need to be identical in width, but the proportions should look deliberate. A narrow shelf may work when offset intentionally, while a symmetrical composition may require matching or balanced pieces on both sides.
Curated Events Charleston lists bookshelves and étagères alongside its bar collection, making it possible to review the complete bar zone as one rental composition.
Preserve Negative Space
Shelves and countertops do not need to be filled completely.
Negative space allows guests to recognize:
-
The shape of the bar
-
The structure of the shelving
-
A menu or sign
-
Selected glassware
-
A primary decorative detail
The shape of the bar
The structure of the shelving
A menu or sign
Selected glassware
A primary decorative detail
An overcrowded back bar can obscure the rental pieces and make practical supplies more noticeable. A limited display of carefully positioned items usually creates a stronger visual statement.
Connect the Bar to the Wedding Through One Design Cue
The bar should feel related to the full reception, but it does not need to repeat every color, texture, and decorative motif used elsewhere.
One recognizable connection can establish continuity while allowing the bar to remain distinctive.
Repeat One Recognizable Element
Select a feature from another part of the wedding and repeat it within the bar composition.
This might be:
-
A color from the linens
-
A metal finish from the tabletop
-
A wood tone from the furniture
-
A curved shape from the stationery
-
A pattern used in a smaller detail
-
A finish found in the lighting or decorative accessories
A color from the linens
A metal finish from the tabletop
A wood tone from the furniture
A curved shape from the stationery
A pattern used in a smaller detail
A finish found in the lighting or decorative accessories
The repeated element should be visible but controlled. Using the same accent in too many places can make the bar feel overly matched rather than thoughtfully connected.
Use Contrast to Make the Bar Visible
A bar that closely matches the tent liner, backdrop, flooring, and surrounding furniture may disappear into the reception.
Controlled contrast helps define the bar without separating it from the overall design. Examples include:
-
A dark bar against a light tent interior
-
A colored bar within a neutral reception
-
A pale bar in front of a deeper backdrop
-
A reflective bar surrounded by matte finishes
-
A curved bar within a largely linear layout
A dark bar against a light tent interior
A colored bar within a neutral reception
A pale bar in front of a deeper backdrop
A reflective bar surrounded by matte finishes
A curved bar within a largely linear layout
Contrast may come from color, material, shape, or finish. Only one strong distinction may be necessary.
Avoid Literal Charleston or Fall Themes
A Charleston fall wedding does not require the bar to include palmetto motifs, anchors, driftwood, pumpkins, leaves, or other literal references. A more refined sense of place or season can be created through:
-
Grounded or coastal color
-
Natural wood tones
-
Warm metal finishes
-
Architectural shapes
-
Textural contrast
-
Carefully controlled lighting
Grounded or coastal color
Natural wood tones
Warm metal finishes
Architectural shapes
Textural contrast
Carefully controlled lighting
The bar should complement the venue and season without turning either into a theme.
Protect the Statement Design With Hidden Operational Space
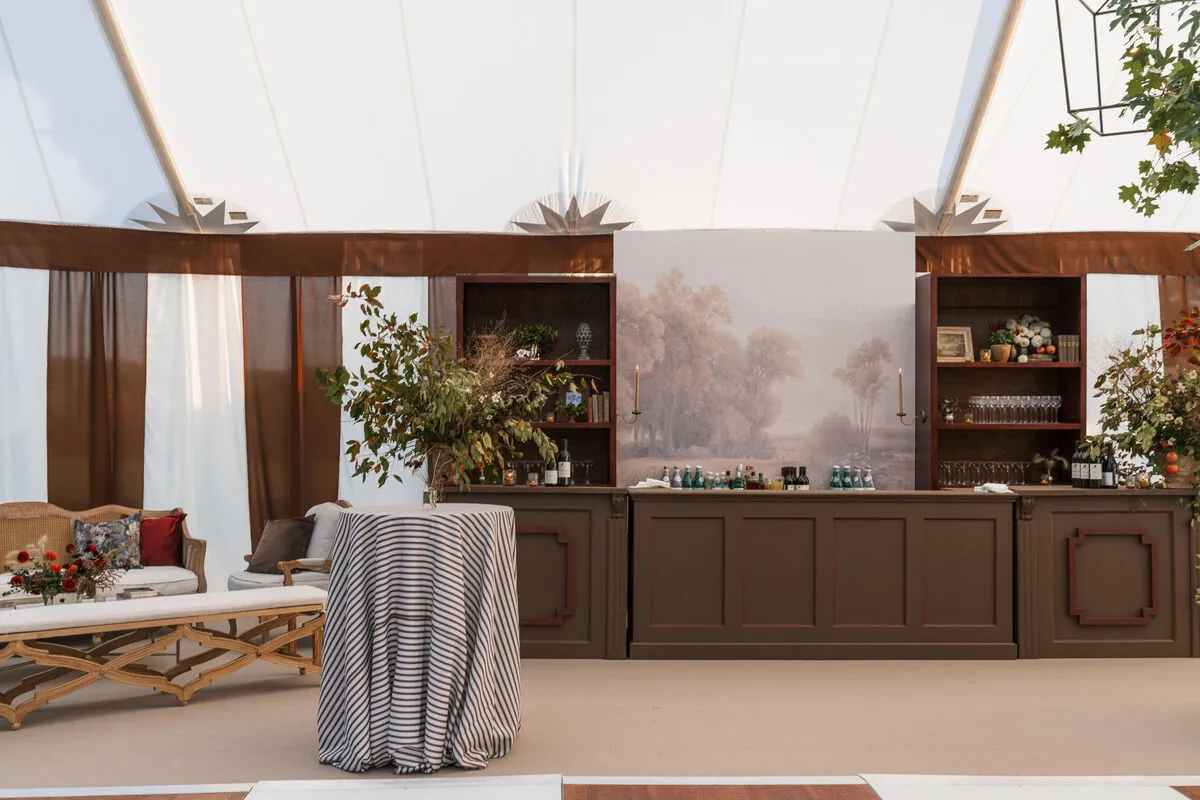
A visually distinctive bar can lose its impact when cartons, bins, coolers, backup supplies, or service equipment remain visible. The practical side of the bar should be planned at the same time as its guest-facing design.
Reserve a Defined Work Zone Behind the Bar
Do not position the bar so close to the tent wall or sidewall that the service area becomes unusable.
The final plan should account for:
-
Staff movement
-
Glassware organization
-
Ice and beverage access
-
Waste collection
-
Equipment placement
-
Entry and exit
Staff movement
Glassware organization
Ice and beverage access
Waste collection
Equipment placement
Entry and exit
The beverage or catering team should confirm the necessary working clearance. Decorative pieces should not reduce that space after the operational plan has been approved.
Create a Concealed Restocking Route
The bar will need to be replenished during the reception. Supplies should reach it without moving repeatedly through the guest queue or across the primary front view.
The restocking route should avoid:
-
The dance floor
-
The couple’s table
-
Main guest entrances
-
Narrow dining-table aisles
-
Prominent photography angles
The dance floor
The couple’s table
Main guest entrances
Narrow dining-table aisles
Prominent photography angles
A route behind the bar, along a tent perimeter, or through a designated service opening can help preserve the guest-facing presentation.
Separate Display Items From Working Inventory
Back-bar shelves should not become open storage for every bottle, container, and supply. Select which items contribute to the design and keep backup inventory concealed or visually contained. Displayed glassware, bottles, menus, and accessories should be arranged with the same level of intention as the bar front. Operational items should remain accessible without dominating the composition.
Design the Guest-Facing Details at the Correct Scale
Menus, signs, florals, and countertop accessories should be evaluated as parts of the full bar zone rather than as separate decorative objects. A detail that appears appropriately sized in isolation may be too small to read from the guest approach or large enough to obscure the bar’s most distinctive feature.
Make the Menu Legible Without Dominating the Bar
The menu should be easy for approaching guests to find and read.
Possible locations include:
-
One side of the bar front
-
A freestanding sign near the approach
-
A controlled section of the back bar
-
A suspended sign aligned with the composition
One side of the bar front
A freestanding sign near the approach
A controlled section of the back bar
A suspended sign aligned with the composition
Avoid placing several menus or signs across the bar. Repetition can create visual clutter and compete with the bar design. The menu should not cover a mirror front, sculpted panel, or other feature that makes the rental distinctive.
Keep Decorative Pieces Out of the Service Opening
Florals, candles, and accessories can frame the bar, but they should not narrow the area where guests receive service.
Place taller or broader decorative pieces:
-
At the outer ends of the bar
-
On supporting shelves
-
Beside the guest approach
-
Above the bar when installation conditions permit
At the outer ends of the bar
On supporting shelves
Beside the guest approach
Above the bar when installation conditions permit
The central service area should remain visually organized and physically accessible.
Control What Appears on the Countertop
The countertop can quickly become crowded once service begins.Determine in advance which items may remain visible, such as:
-
Selected glassware
-
A menu card
-
Napkins in a coordinated container
-
One restrained decorative accent
-
Essential service pieces arranged consistently
Selected glassware
A menu card
Napkins in a coordinated container
One restrained decorative accent
Essential service pieces arranged consistently
Unrelated supplies should be stored elsewhere. A clear countertop preserves the bar’s shape and keeps the guest interaction area orderly.
Test the Bar From the Tent’s Key Views
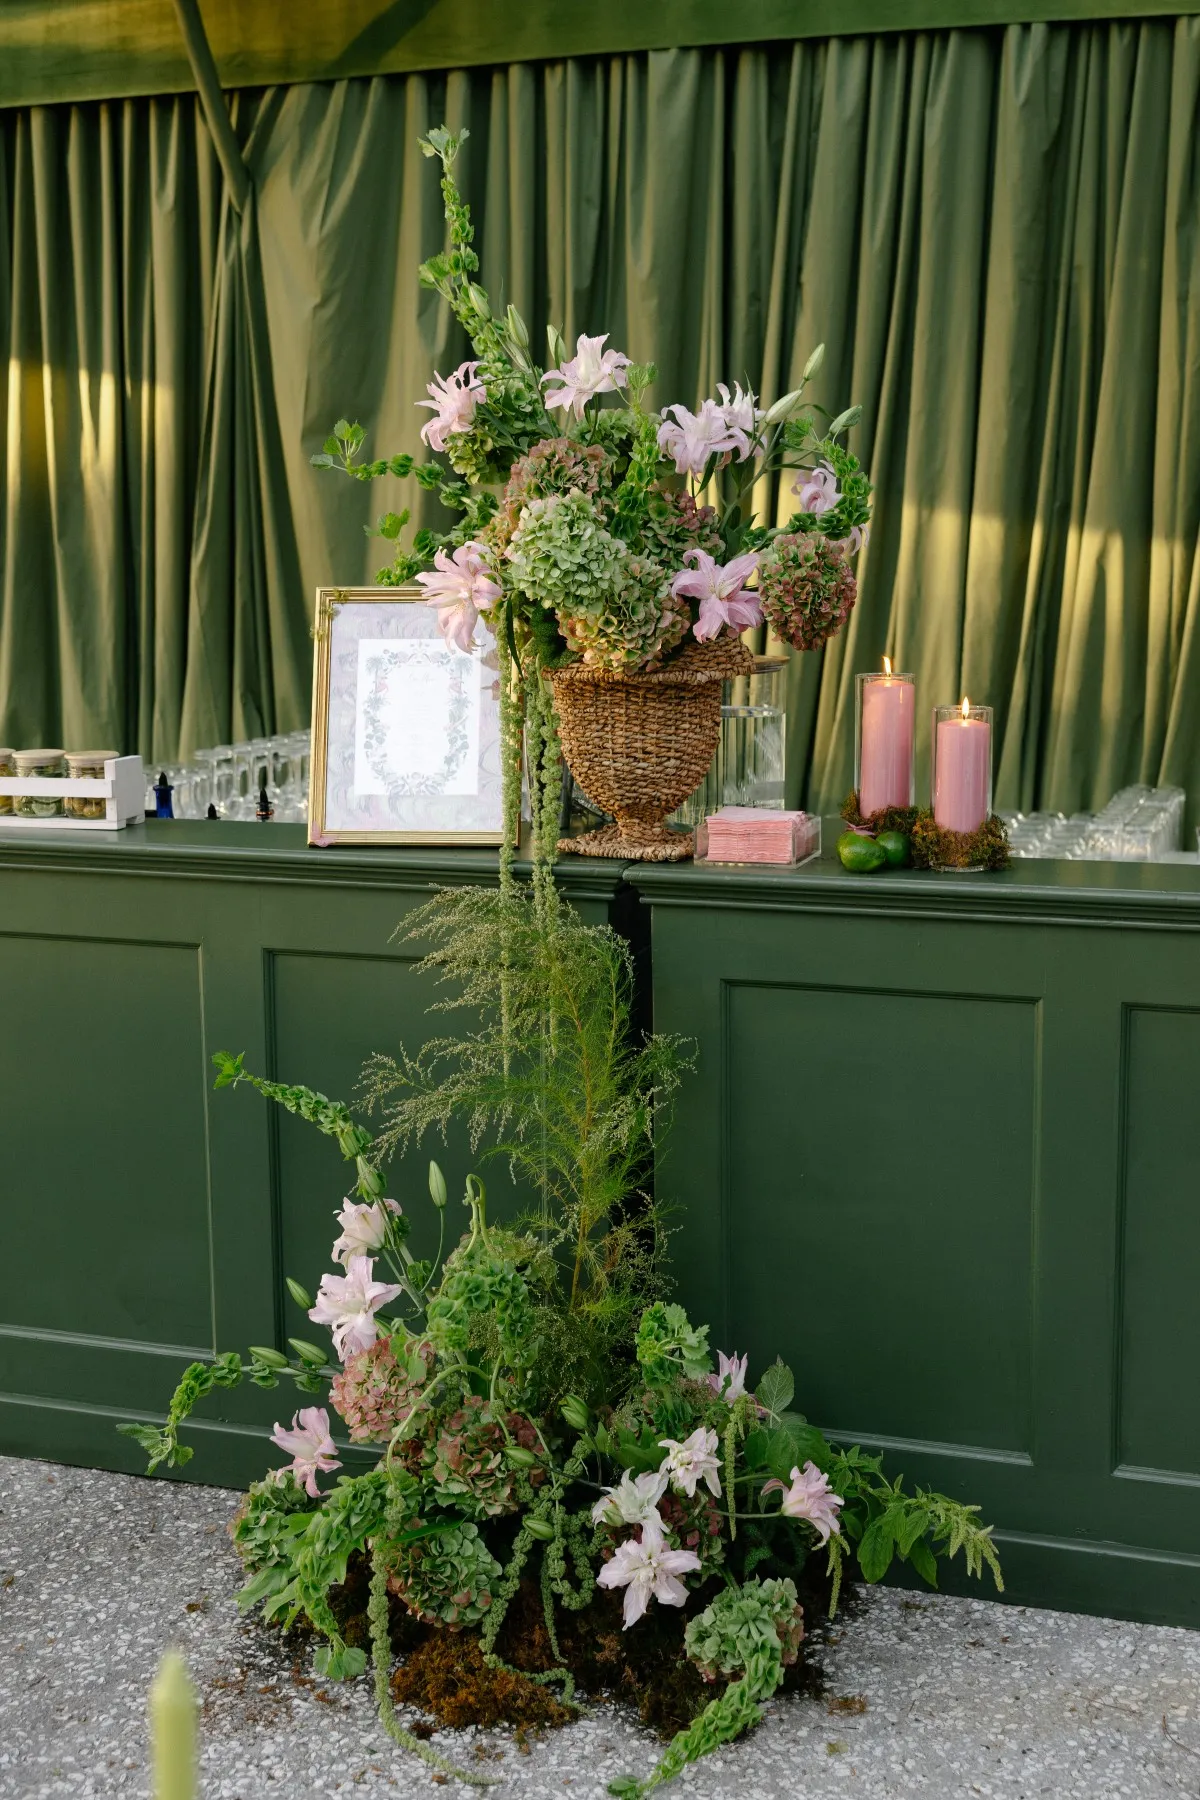
A bar may look effective in a product photograph but feel undersized, obstructed, or disconnected when placed inside the complete tent. Review the design from the locations where guests will actually experience it.
Check the Entrance View
Stand at the primary tent entrance and evaluate whether:
-
The bar is recognizable
-
The guest route toward it is clear
-
A pole interrupts the composition
-
The menu can be located
-
Another feature competes directly with it
The bar is recognizable
The guest route toward it is clear
A pole interrupts the composition
The menu can be located
Another feature competes directly with it
The bar does not need to face the entrance, but guests should be able to understand where it is and how to approach it.
Review It From Seated and Social Areas
Check the bar from dining tables, lounge areas, and the dance floor. It should remain connected to the reception without dominating every view. A bar that appears balanced from the entrance may interfere with a key sightline from the couple’s table or feel visually lost from the far side of the tent. Multiple viewing angles should be considered before final placement.
Reassess It Under Evening Lighting
Tent interiors can look substantially different after sunset. Reflective finishes may become more prominent, dark colors may lose visible detail, and shelving can cast unexpected shadows. The bar should be reviewed under the planned evening lighting rather than only in daylight. Evaluate the entire composition, including the bar front, shelving, menu, and surrounding negative space.
Statement-Bar Design Problems to Catch Early
Most bar-zone problems result from incorrect scale, competing focal points, or insufficient operational planning.
The Bar Is Too Small for the Tent
A compact bar can appear visually lost beneath a high ceiling or within a wide tent bay.
Possible corrections include:
-
Selecting a longer bar
-
Combining modular sections
-
Adding a proportionate backdrop
-
Introducing appropriately scaled shelving
-
Moving the bar into a more contained reception zone
Selecting a longer bar
Combining modular sections
Adding a proportionate backdrop
Introducing appropriately scaled shelving
Moving the bar into a more contained reception zone
The supporting pieces should strengthen the bar rather than compensate with excessive decoration.
The Back Bar Overpowers the Bar Front
When shelving, florals, displayed bottles, and signage become too dominant, the rental bar may no longer read as the focal point.
Simplify the background, reduce the display density, or select a bar front with enough visual presence to support the composition.
The design should have a clear order: one leading element, supporting pieces, and sufficient open space.
The Bar Competes With Another Major Feature
Placing the statement bar directly beside the stage, couple’s table, cake display, or another substantial installation can create visual congestion.
Major focal points should have enough separation to be understood independently. This also distributes interest through the tent instead of concentrating every decorative feature in one section.
Frequently Asked Questions
Does a statement bar need back-bar shelving?
No. A distinctive bar can function as the primary feature without shelving. Back-bar pieces are most useful when they improve the scale of the composition, provide controlled display space, or introduce needed vertical height.
Should a statement bar be centered in the tent?
Not necessarily. The bar should align with a clear tent bay, sightline, reception zone, or guest approach. An off-center position can work when it relates intentionally to the surrounding structure.
Can a curved bar work inside a wedding tent?
Yes. A curved bar can create a strong freestanding feature when there is enough space for its shape and guest approach. It should not be pressed against a sidewall or placed where a tent pole interrupts its primary curve.
Should the bar match the reception furniture?
The bar and furniture should relate, but exact matching is not required. Repeating one finish, color, material, or shape can create continuity while preserving the bar’s distinctive role.
How should the bar be planned for tent sidewalls?
Review the complete bar zone with the sidewalls both open and closed. Confirm that the background, guest approach, service access, restocking route, and overall visual balance continue to work under either condition.
Make the Bar Feel Designed Into the Tent
A statement bar is most effective when it feels connected to the tent’s structure, reception layout, and visual direction. It should not appear to occupy an available gap after the other rentals have been placed.
Begin by defining the bar’s role and identifying how guests will approach it. Select a shape and scale that relate to the tent, then align the composition with the structural lines and primary sightlines. Establish one dominant design feature, preserve negative space, and provide concealed room for service operations.
Curated Events Charleston provides tents, bars, shelving, furniture, lighting, linens, and tabletop rentals for weddings and other social events. Its bar collection includes straight, modular, curved, sideboard, mirror-front, colored, and sculptural options that can be coordinated with the approved tent layout.
By considering the guest-facing design and operational requirements together, couples and planners can create a bar that looks intentional from every important angle and continues to function throughout the celebration.